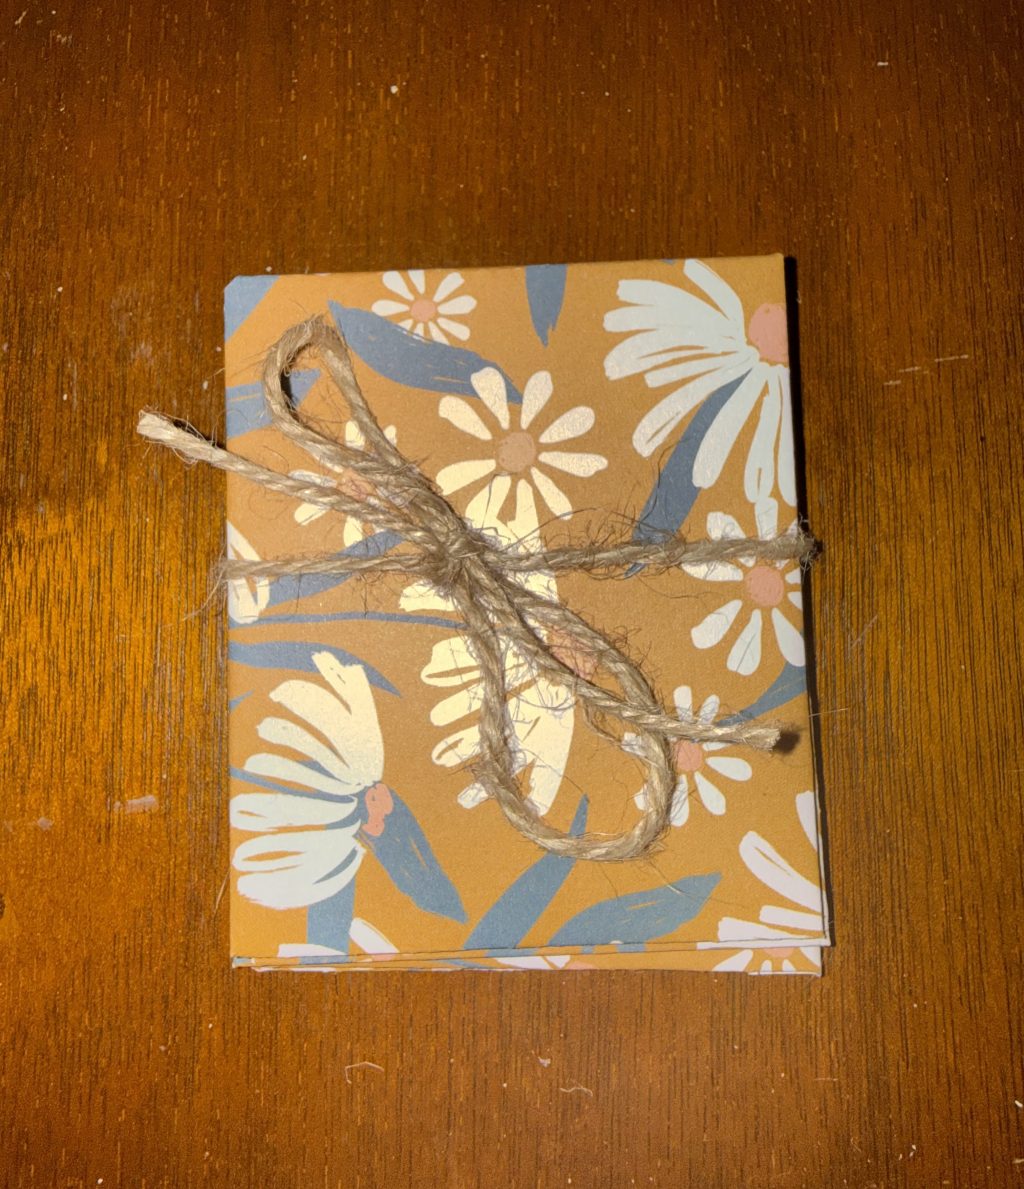
Many gardeners choose to save their own seeds rather than buying new seeds each season. It saves money and after a few seasons the seeds start to produce plants that are better acclimated to your specific location!
Making your own seed envelopes is a very easy DIY. Let’s get into it
| Time | 10 – 30 minutes (depending on amount of envelopes you make |
| Difficulty level | Very easy |
Materials
- Paper (I used scrapbooking paper I had laying around)
- Double sided tape
- Scissors
- Ruler
- Pen
- Label (optional)
- Twine or string (optional)
Instructions
- Create a template to use to cut out the envelopes. And then use the template by placing it on to the seed envelope paper and tracing an outline. To save paper, try to fit as many envelope outlines as you can on your page.
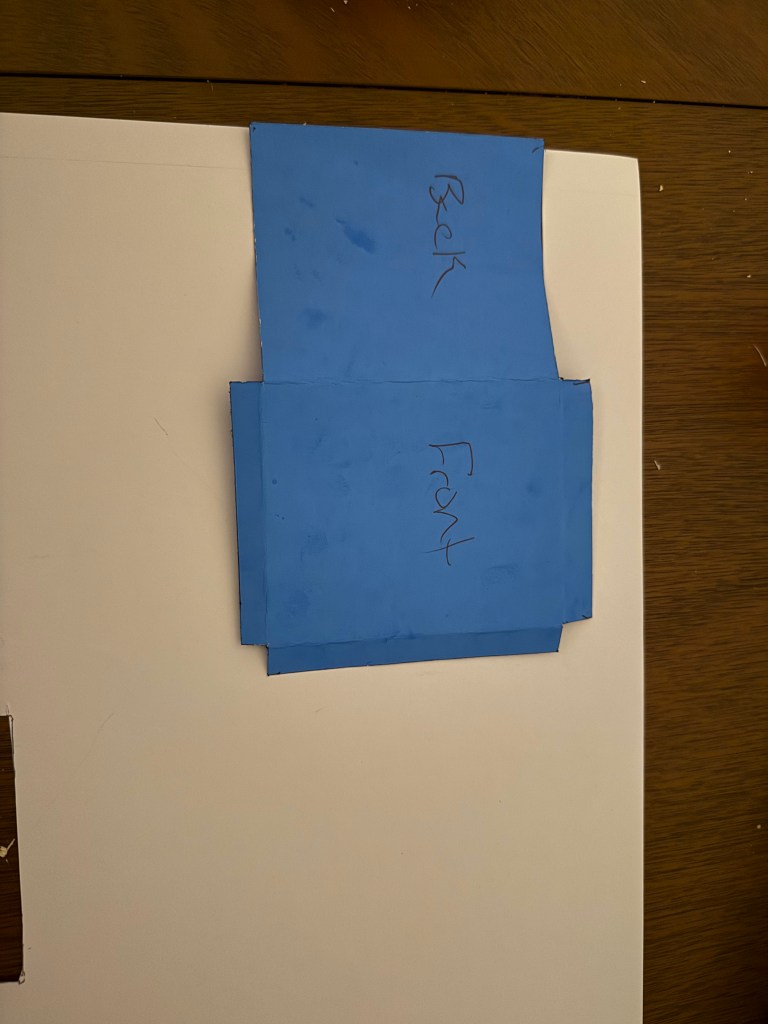
2. Once cut out, fold the back flap up so that the bottom edge lays flat. Add double sided tape to all 3 sides. Clip all four corners at a 45% angle. It doesn’t have to be perfect – this is the back side.
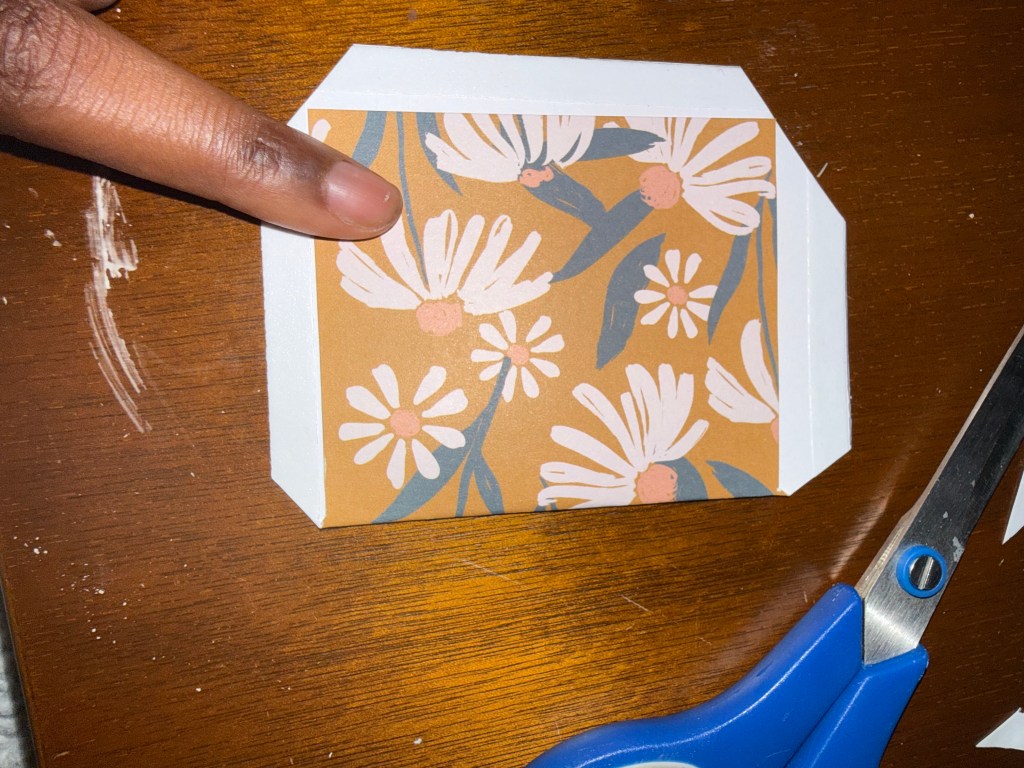
3. Remove backing of the double sided tape for the bottom and the side flaps. Fold down – leaving the top flap up
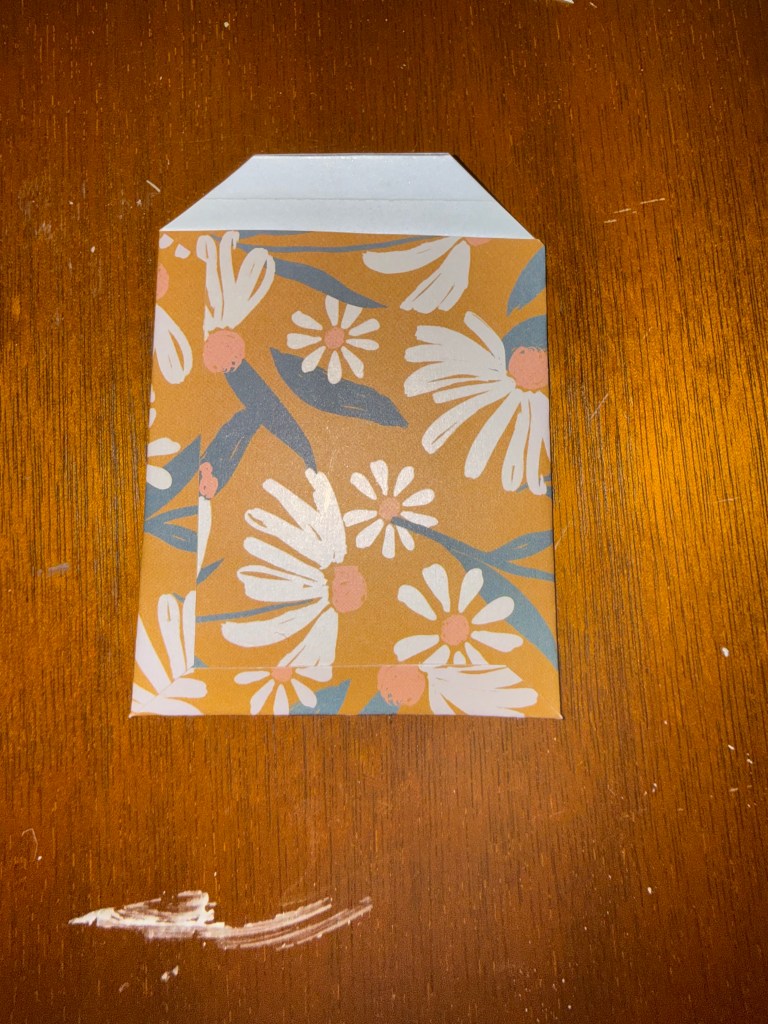
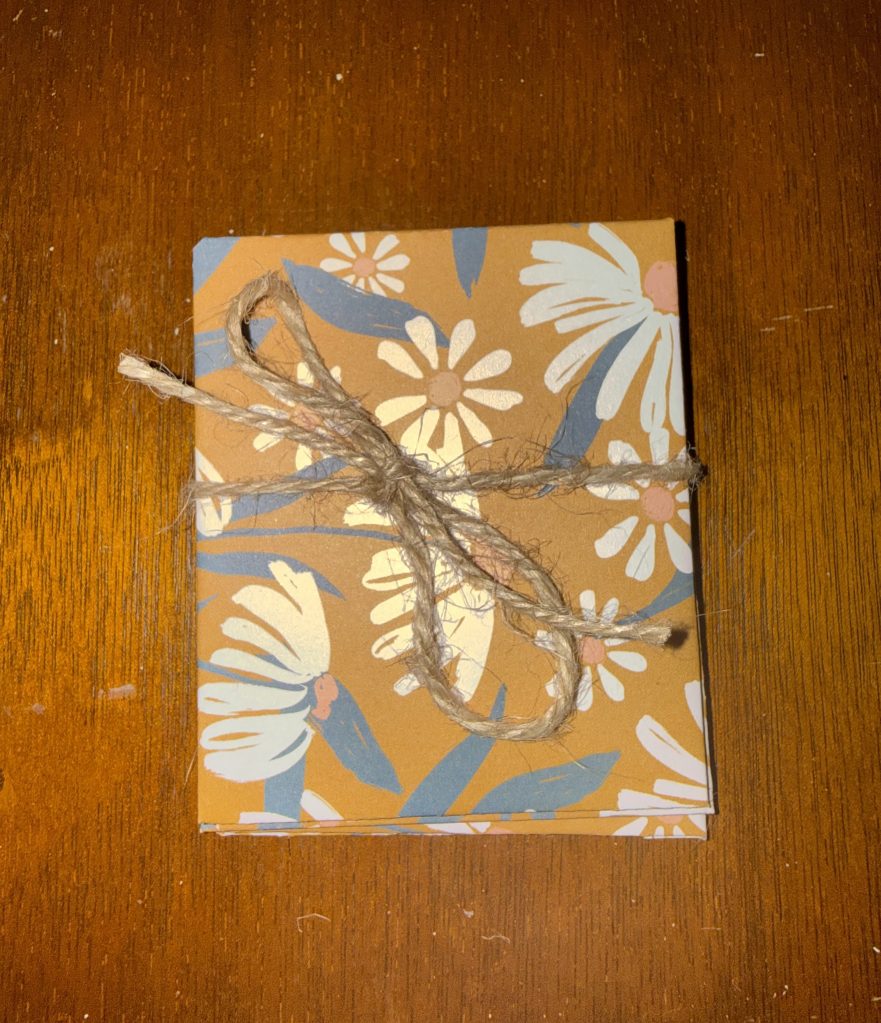
4. Finish: if you have labels you can stick them onto the back of each envelope and if you’ve made a set of them you can stack them and tie them with twine or other string


Leave a Reply